My gawky craft roof is finally coming along. It's been slow going, since the bathroom really needs to take priority, but I have been able to get a few things done here and there. I still need to do something with the window sashes and muntins; I'm thinking of trying a dark ebony stain first. If I don't like that, then I can just paint it all white like the trim. The floor still needs to be sanded and finished, and I'd like to install baseboards while I'm at it. I'm also planning a box cushion for the windowseat. But the new wall and ceiling color (BM Revere Pewter) and painted trim (BM Linen White) have really brightened up the room. It definitely reflects a lot more light; even into the upstairs hallway, which I wasn't expecting!
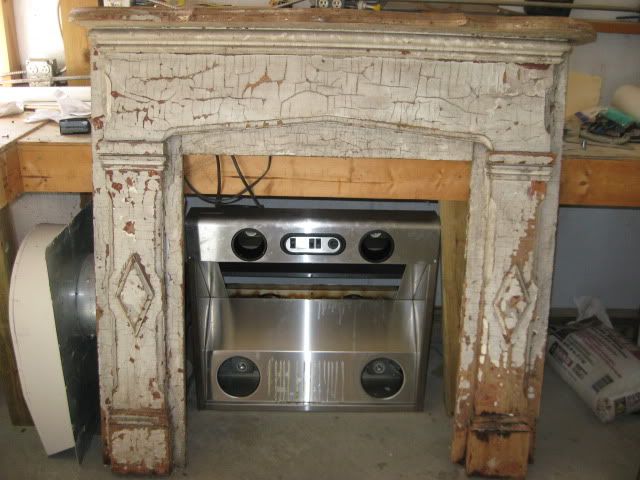
Before we moved in:
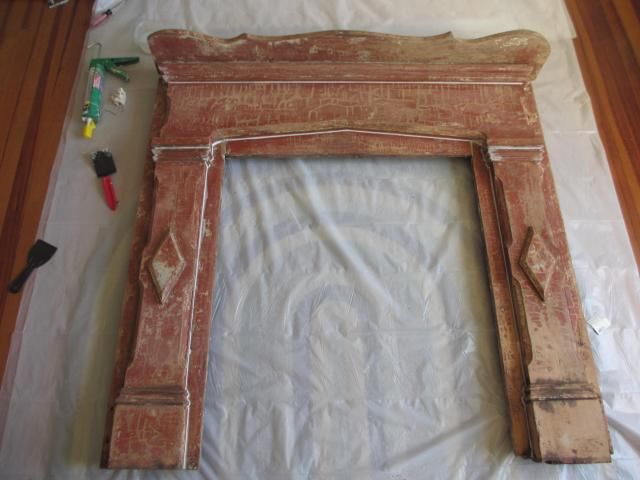
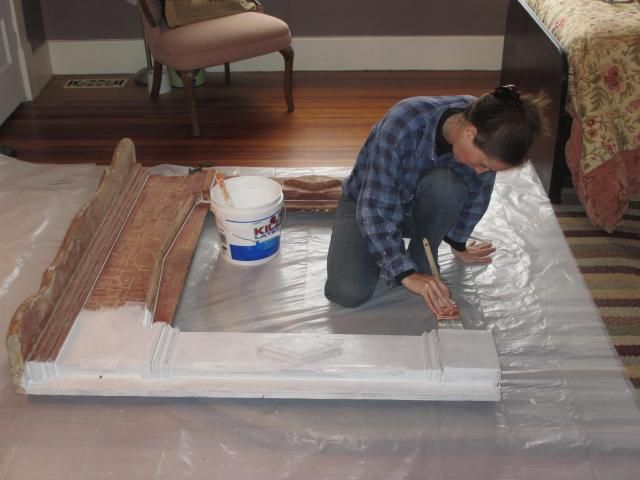
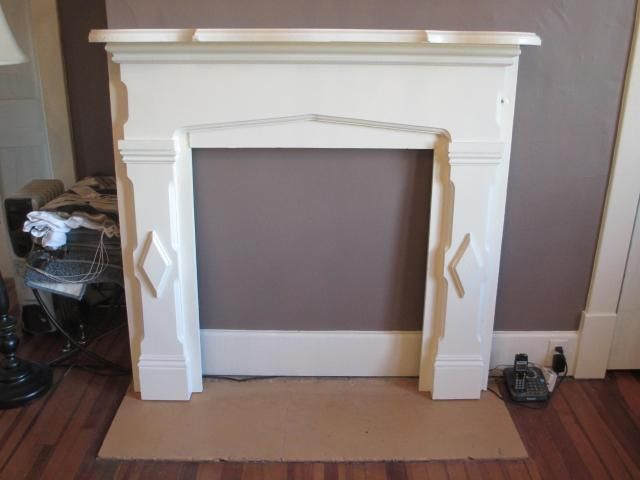
Interim:
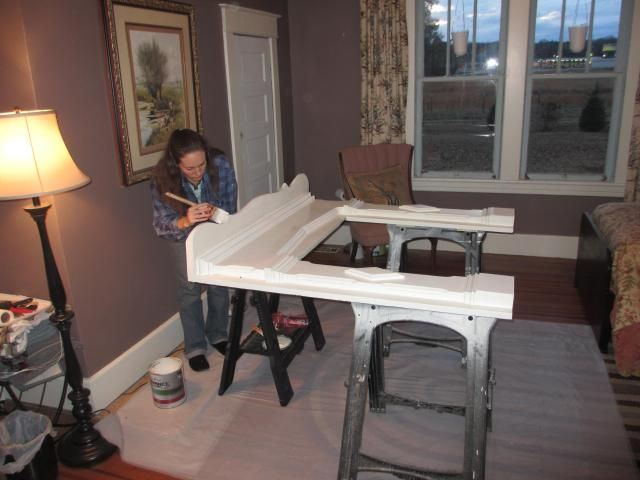
Now:
The wall color looks a little washed out in these photos, but it's a warm gray or light taupe. You can see the difference compared to the creamy white door and window trim.
The room is pretty sparse right now, but for a sewing and craft center, I think I like starting that way. It will fill up fast! I have a folding table I can set up for cutting or pattern layout, and I may build a fold out top for the bureau to serve as an extended work surface, too.
I mentioned the retro shortie curtains in a post a few days ago about
window treatments. I was thrilled that they worked so well with my rug! This dhurrie rug
started out in the kitchen, then moved to our temporary bedroom, and now finds a long-term home in the craft room. I love when a piece is that flexible! It assures me that my design choices are cohesive enough for the house as a whole, instead of just individual rooms.
I really wish I could use a vintage pendant or some other unique lighting fixture in the room, but the upstairs ceilings are barely seven feet high. So I had to go with a flush mount that would light the corners of the room and not just glare down from the center. I'm satisfied with this halogen unit, and it was cheap enough to be a placeholder unless/until I can find something I really love. I installed it in probably less than half an hour (no nightmare lighting adventure like the
guest room chandelier experience!), but at least fifteen minutes of that was trying to insert the small, fiddly halogen lights into the narrow shades using the special "relamping" tool, since you can't touch any part of the bulbs!
Another little update was my sewing machine table. It's just a small desk I
bought years ago. But I didn't know what I was doing at the time and
painted it rather poorly with a cheap brush and low quality paint. This
time, I sanded it down to smooth the bristle marks and gave it two coats
of good paint with my favorite Purdy sash brush. What a difference!
Before repainting:
After:
I was thrilled to find this vintage metal and wood ironing board at one of my local thrift stores last month. It was only $5, and I find it functional as well as lovely. Double score on the William Morris test!
"Have nothing in your houses that you do not know to be useful, or believe to be beautiful." - William Morris (father of the Arts and Crafts movement)
It's a happy, streamlined little space now, so maybe after the bathroom remodel is done, I'll be able to get into the craft room and do some sewing!